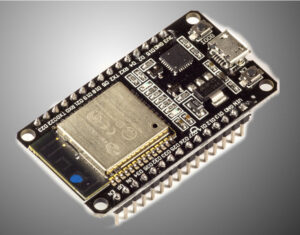
You can use an ESP32 to program the Fipsy FPGA. Be aware that there are many variants of the ESP32 board, so some of the details below may be different. Both the ESP32 and the Fipsy FPGA operate at 3.3V and should be able to be connected to each other directly.
Here is the wiring we will need:
Fipsy ESP32
Pin 1 3.3V ← 3.3V
Pin 2 GND ← GND
Pin 3 SCK ← Pin D18 (SCK, in code set as pin 35)
Pin 4 MISO → Pin D19 (MISO, in code set as pin 38)
Pin 5 MOSI ← Pin D23 (MOSI, in code set as pin 36)
Pin 6 SS ← Pin D5 (SS, in code set as pin 34)
Install Dependencies
You will need to install the Arduino IDE – https://www.arduino.cc/en/software
Then you will need to make sure you can program your ESP32 in Arduino. Look around for guides for your specific device. We found this guide to be particularly useful:
https://randomnerdtutorials.com/installing-the-esp32-board-in-arduino-ide-windows-instructions/
See also, https://docs.espressif.com/projects/arduino-esp32/en/latest/installing.html
- Note how you have to add ESP32 boards to the Arduino IDE, it’s not available by default
- If this is your first time connecting the ESP32 by USB, you may also need the CP210x USB to UART Bridge driver, which is mentioned in the first link, and links to the Silicon Labs driver files here: https://www.silabs.com/developers/usb-to-uart-bridge-vcp-drivers?tab=downloads
See how you can add ESP32 as an available board set (after adding the additional boards URLs – https://raw.githubusercontent.com/espressif/arduino-esp32/gh-pages/package_esp32_index.json )
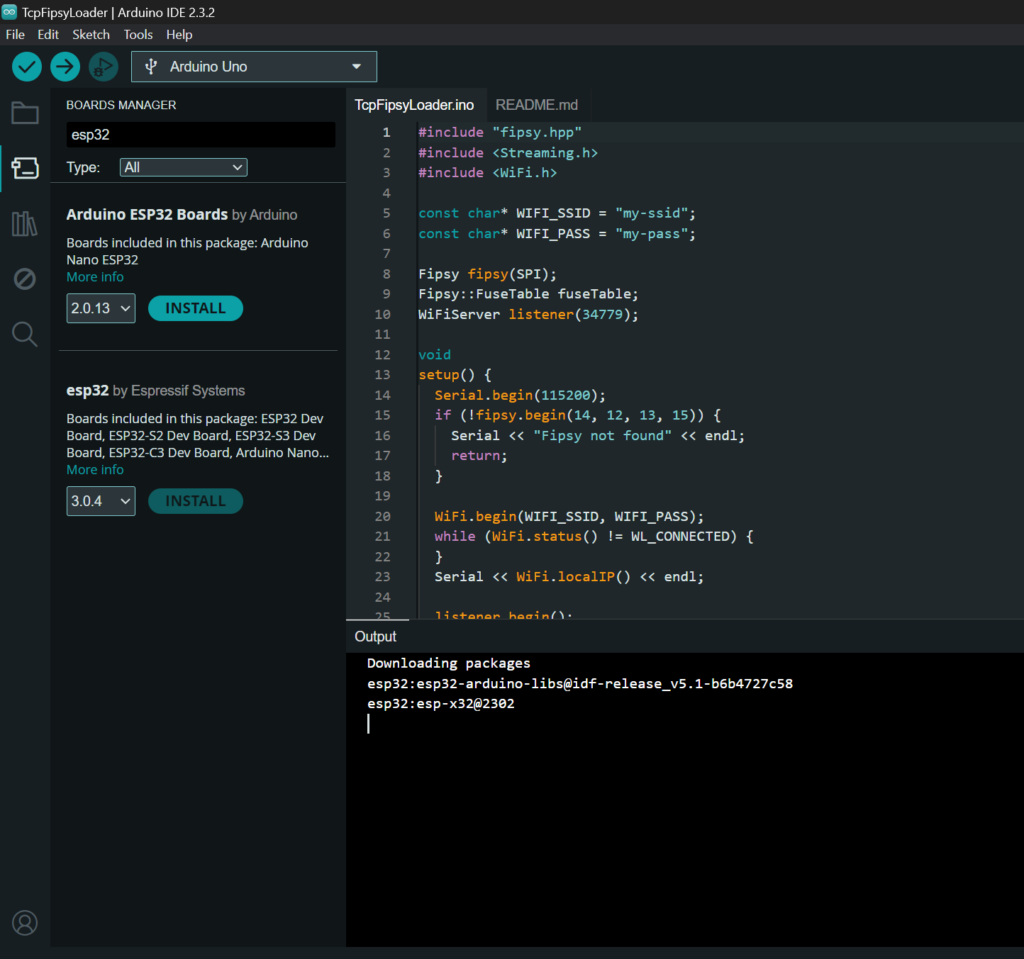
Before continuing, make sure you can push a simple program to your ESP32 via USB.
Getting netcat command – nc
Our code will use the `nc` command, which you can get on Windows using WSL. For example you can install Ubuntu on Windows via the AppStore – https://apps.microsoft.com/detail/9pdxgncfsczv?hl=en-US&gl=US
Programming the ESP32
Grab the code from this repo:
https://github.com/MoCoMakers/esp-fipsy ( Forked from: https://github.com/yoursunny/esp-fipsy )
In particular open examples/TcpFipsyLoader/TcpFipsyLoader.ino in your Arduino IDE. This is the file you need to burn to your ESP32. To make it compile, you will need to upload a Fipsy Arduino Library that includes both:
esp-fipsy\src\fipsy.hpp
esp-fipsy\src\fipsy.cpp
This .zip can be uploaded:
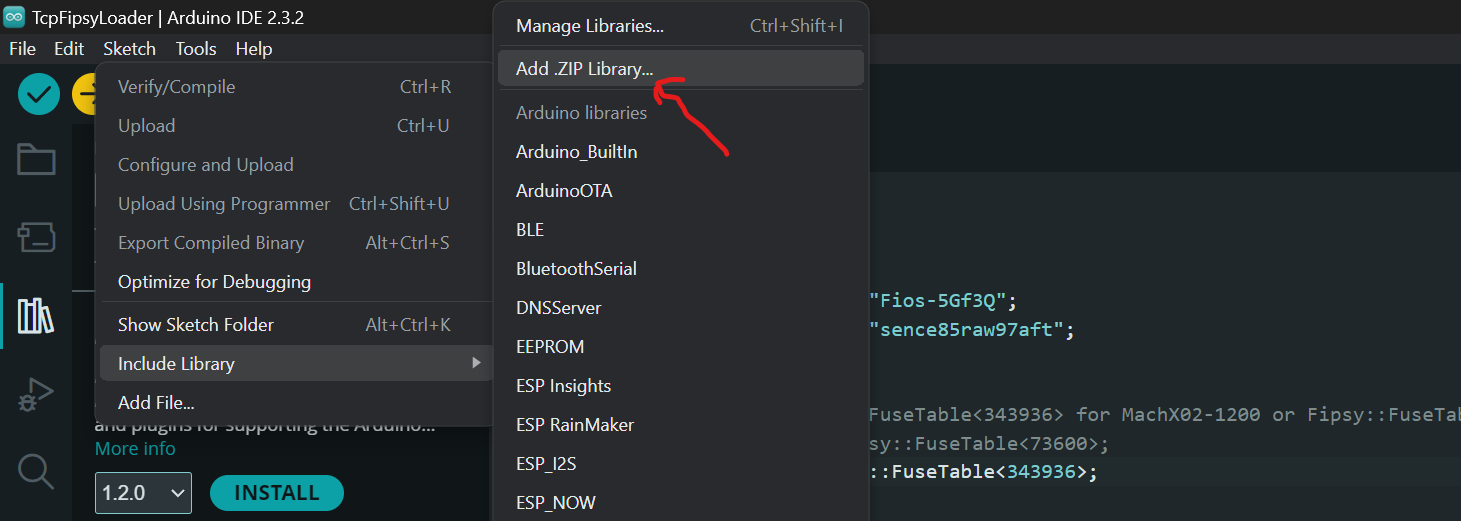
Once you have your .zip file, add it as a library to the TcpFipsyLoader.ino project by going to Sketch-> Include Library -> Add .ZIP Library.. (and selecting the .zip file you made).
At this time, verify that you can Compile the code successfully. If you still still have trouble see the Contact Us page for support tips.
Modify the following lines in your .ino file:
Add your WiFi details here:
1 2 | const char* WIFI_SSID = "my-ssid"; const char* WIFI_PASS = "my-pass"; |
If you have Fipsy Ver 2 – use the Fipsy::FuseTable<343936> otherwise if you have the older, Fipsy Ver 1 use the other value.
1 2 3 | // Choose either Fipsy::FuseTable<343936> for MachX02-1200 or Fipsy::FuseTable<73600> for MachXO2-256. These are the QF values from the .jed file. //using FipsyClass = Fipsy::FuseTable<73600>; using FipsyClass = Fipsy::FuseTable<343936>; |
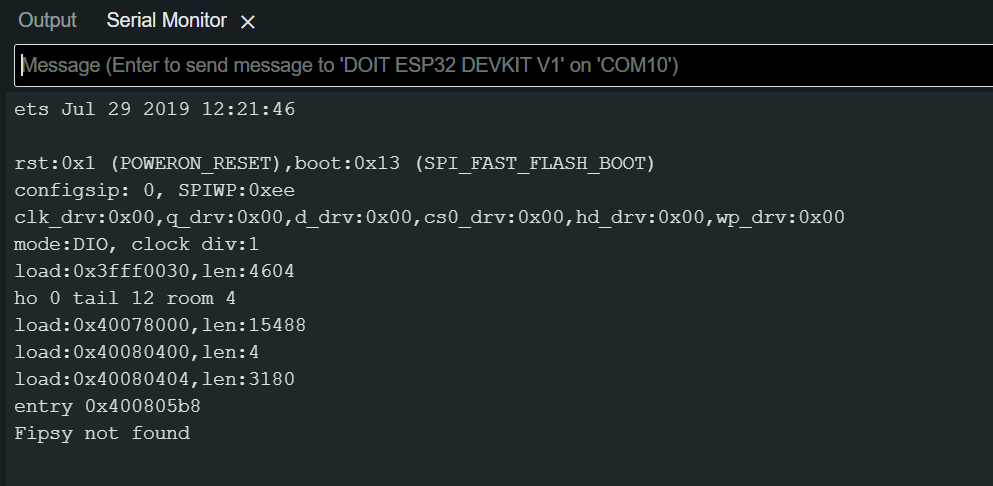
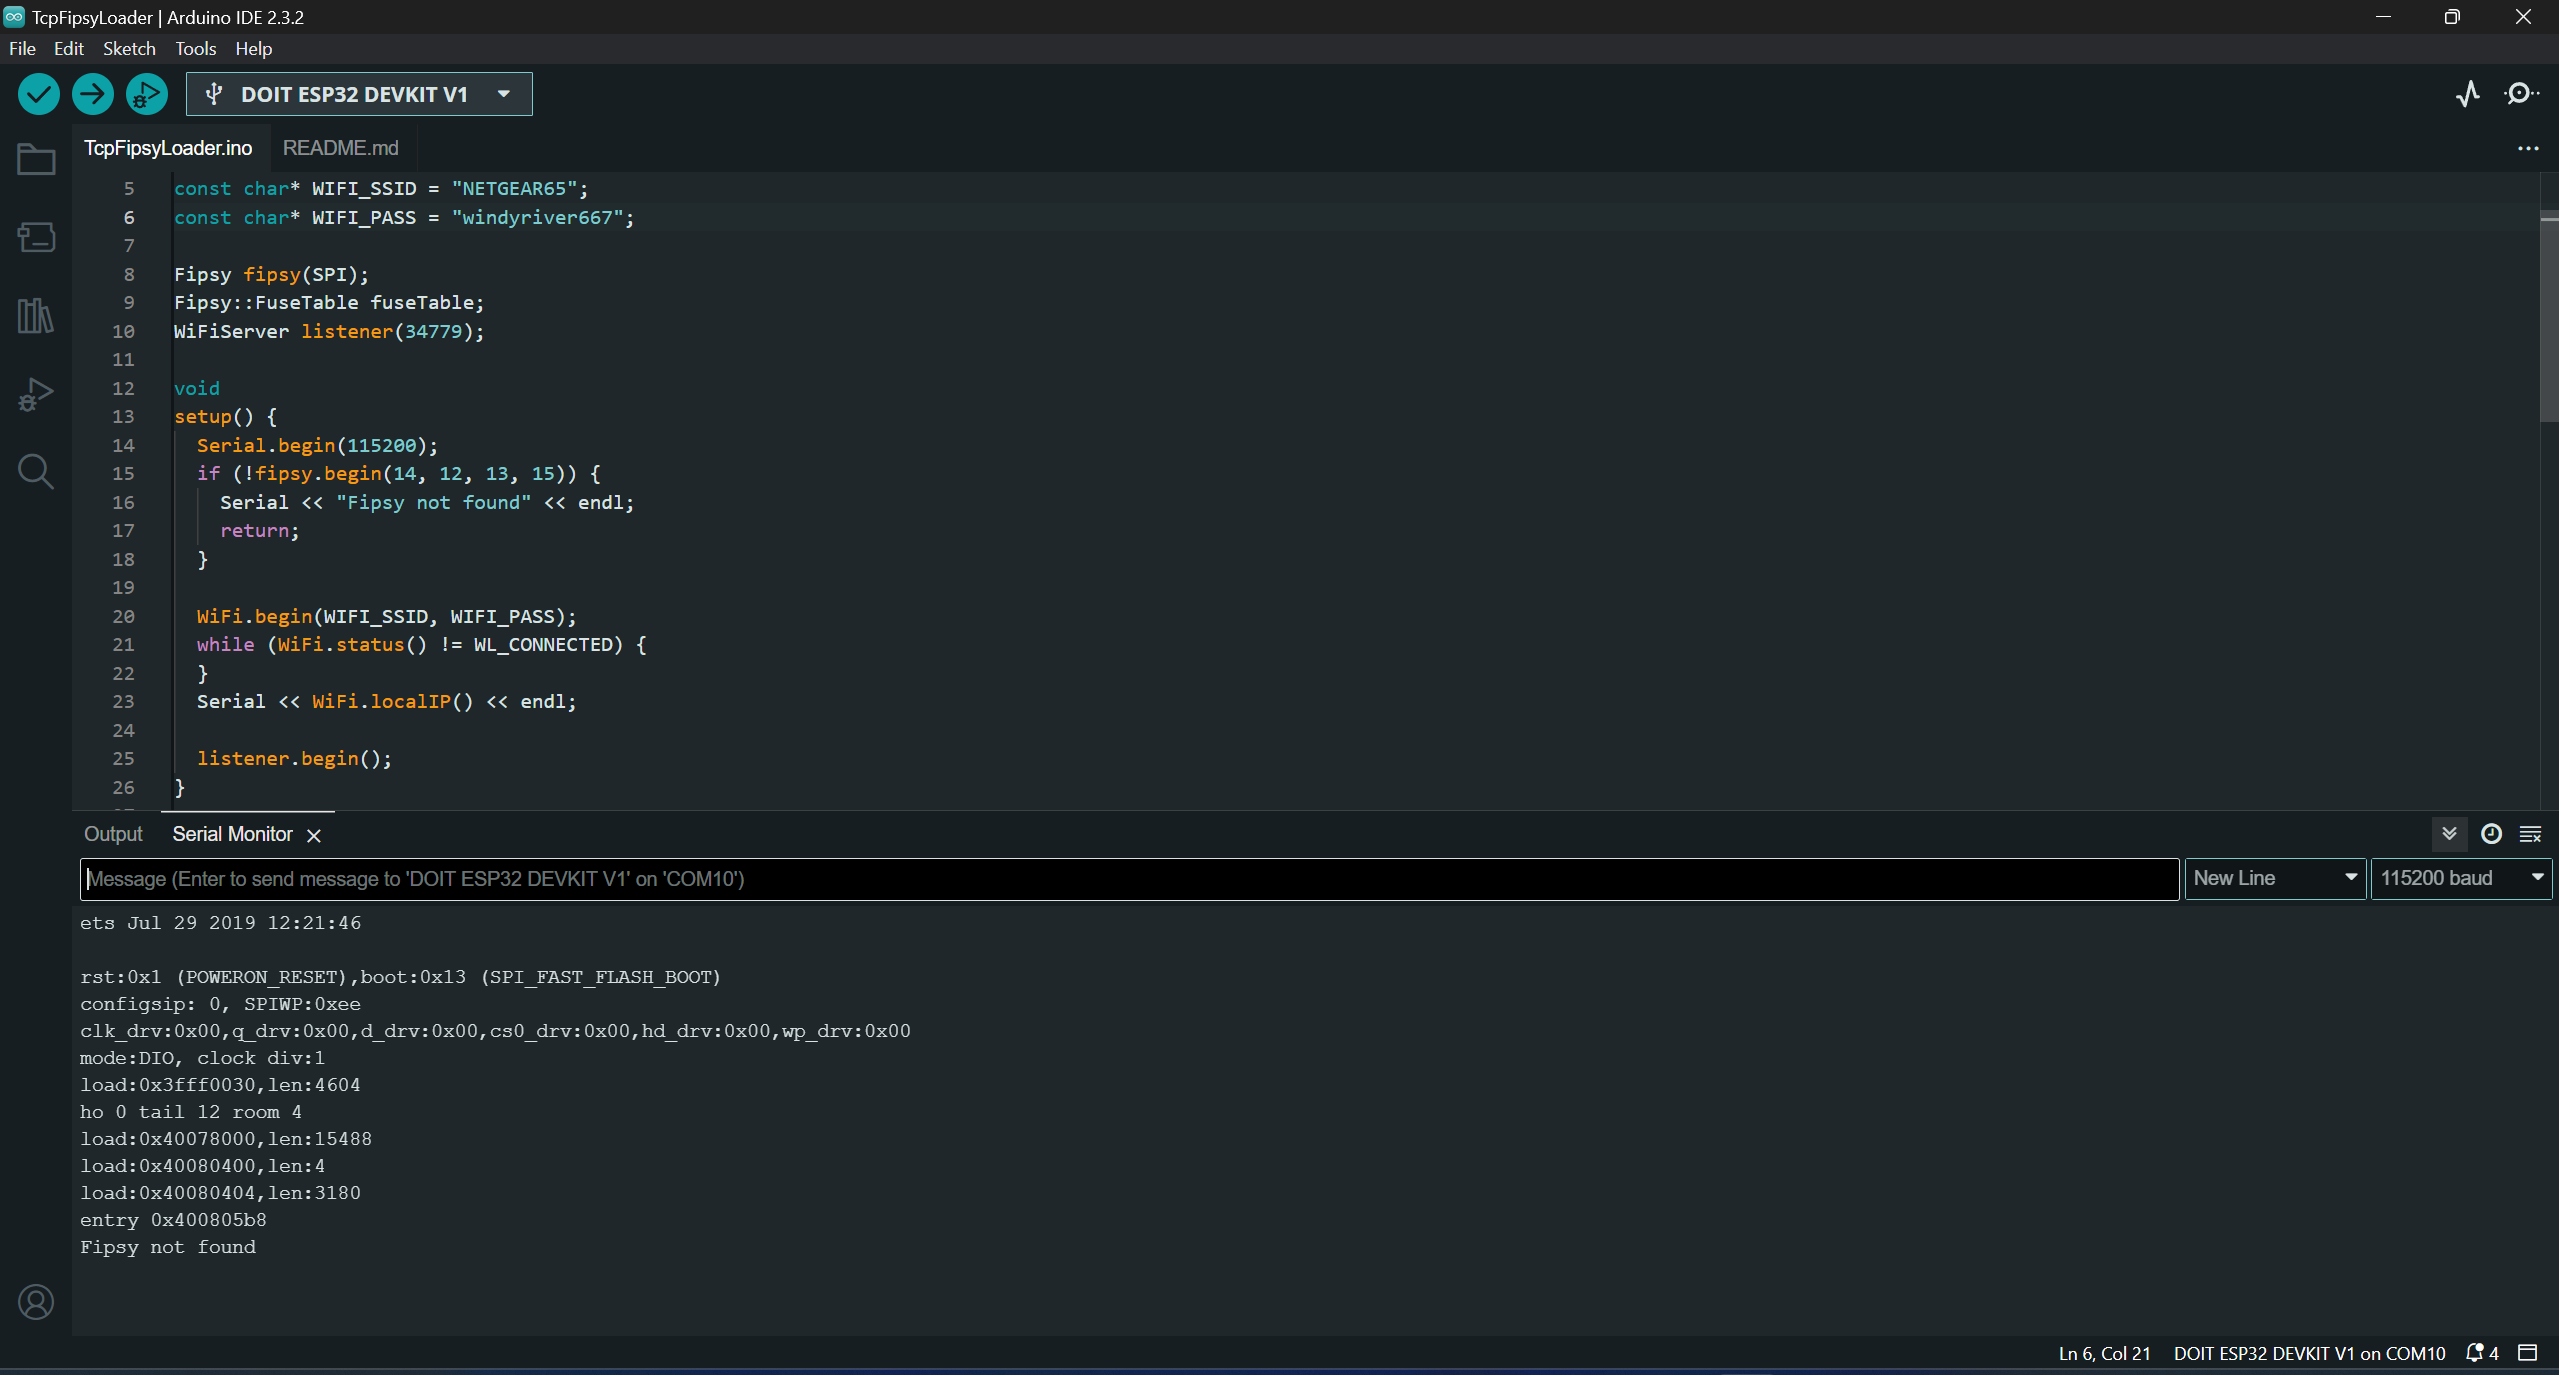
Now upload this code to the ESP32. You may need to press the “Boot” button for 3 seconds while it says “Connecting……” to initiate the firmware upload. Once the upload completes, switch to your Serial Monitor and you should see something like this (assuming your Fipsy is not connected).
Wire your ESP32 to the Fipsy FPGA
Connect your devices using jumper cables. I am using female-to-female jumpers.
Here is the wiring we will need:
Fipsy ESP32
Pin 1 3.3V ← 3.3V
Pin 2 GND ← GND
Pin 3 SCK ← Pin D18 (SCK, in code set as pin 35)
Pin 4 MISO → Pin D19 (MISO, in code set as pin 38)
Pin 5 MOSI ← Pin D23 (MOSI, in code set as pin 36)
Pin 6 SS ← Pin D5 (SS, in code set as pin 34)
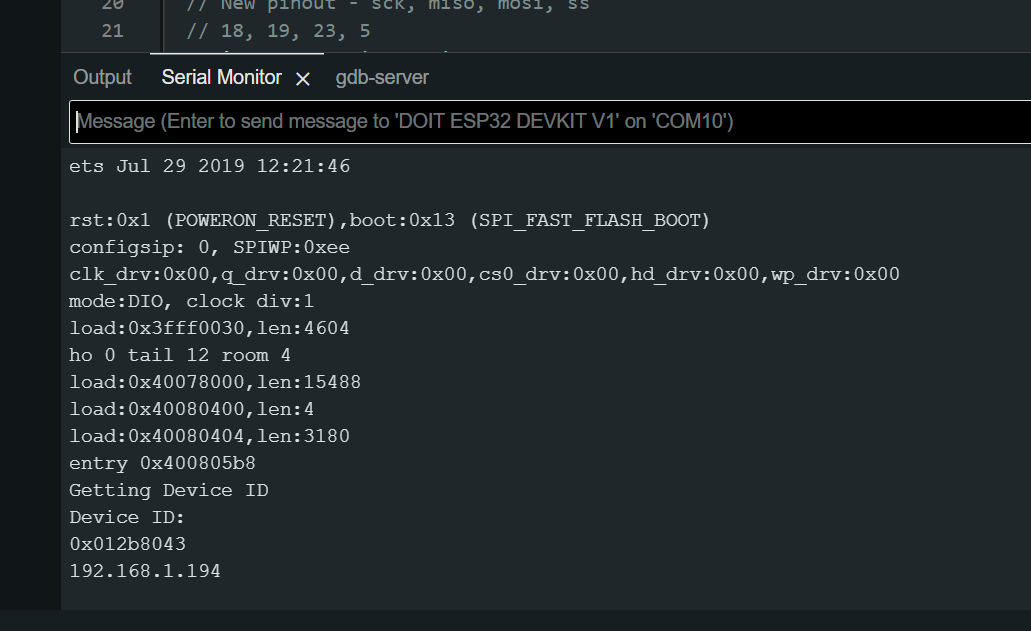
Once your device is wired (and ESP32 is still connected via USB in the Arduino IDE) – switch to your Serial Monitor. Tap on the “EN” button to reboot the device, and the following should be displayed. Notice how you will get an IP address – if you don’t double check that you wired your Fipsy properly, and uploaded a version of the ESP32 code that has your WiFi details (see above).
Upload your JEDEC File to the ESP32
Launch a command prompt that has the ‘nc’ command (this might be WSL in Windows).
Using the IP address from the previous step, use the `nc` command to upload your .jed file to your device. Make sure your Lattice Diamond project has the correct device selected, to get started with creating a JEDEC file (the .jed file you create that has your design in it) – Basic Setup of the Fipsy FGPA
See the README here: https://github.com/MoCoMakers/esp-fipsy/tree/main/examples/TcpFipsyLoader
Run the following command to send your .jed file

Troubleshooting Tips
- No Fipsy Found.
- Check your physical wiring.
Check the pinout in the Arduino file, are these the right SPI pins for your device? fpga.begin(18, 19, 23, 5)- Other common pins are:
-
14, 12, 13, 15
-
- Other common pins are:
- Check your physical wiring.
- JEDEC Parse Error 3:
-
- Double check that your .jed file is compiled for the rigth kind of device.
- Check that the QF number in the .jed file matches the fuseTable.resize(VALUE) in the .ino
- Choose either fuseTable.resize(343936) for MachX02-1200 or fuseTable.resize(73600) for MachXO2-256.
-
If this is your first time programming the Fipsy, check out the first 5 steps of this guide:
